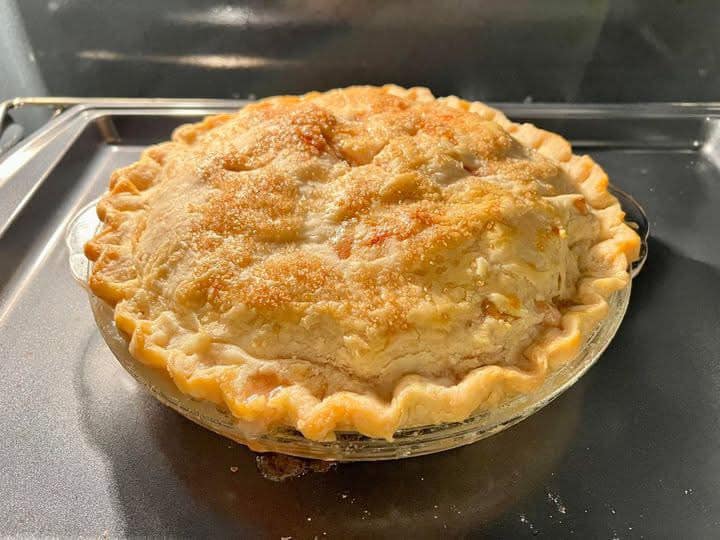
A classic Grandmother’s Pie Crust recipe is all about simple, time-tested ingredients that come together to create a tender, flaky, and delicious pie crust. This is the type of crust that’s perfect for fruit pies, cream pies, and even savory pies like quiches. Here’s a recipe that could easily have been passed down through generations:
Ingredients:
- 2 1/2 cups all-purpose flour
- 1 tsp salt
- 1 cup (2 sticks) unsalted butter, cold and cut into small cubes
- 1/4 cup ice water (more if needed)
Instructions:
1. Prepare the Dry Ingredients:
- In a large bowl, whisk together the flour and salt. Make sure it’s well-combined.
2. Cut in the Butter:
- Add the cold, cubed butter to the flour mixture. Using a pastry cutter, two forks, or your hands, work the butter into the flour until the mixture resembles coarse crumbs with pea-sized pieces of butter remaining. This will help create a flaky texture in your crust.
3. Add the Ice Water:
- Slowly add the ice water, one tablespoon at a time, mixing gently with a fork or your hands after each addition. Continue adding water until the dough starts to come together. Be careful not to add too much water; the dough should be slightly crumbly but able to hold together when pinched.
4. Form the Dough:
- Turn the dough out onto a lightly floured surface and gather it into a ball. If it’s too dry, you can add a little more ice water, but be cautious to avoid overworking the dough.
- Flatten the dough into a disk and wrap it in plastic wrap. Chill it in the refrigerator for at least 30 minutes before rolling it out. This helps the butter firm up and makes the dough easier to handle.
5. Roll Out the Dough:
- After the dough has chilled, remove it from the fridge and let it sit for a few minutes at room temperature.
- On a floured surface, roll out the dough to fit your pie pan, turning it as you go to keep it even and to prevent it from sticking.
- Transfer the dough to your pie pan by rolling it onto your rolling pin and then unrolling it over the pan.
- Gently press the dough into the bottom and sides of the pan, being careful not to stretch it. Trim the excess dough, leaving about an inch of overhang.
6. Chill the Dough Again:
- Place the pie crust in the refrigerator for 15 minutes before baking to ensure it holds its shape during baking.
7. Bake (if necessary):
- If you’re making a pie that requires a pre-baked crust (like a cream pie or no-bake filling), you can dock the bottom of the crust with a fork to prevent air bubbles and then bake it at 375°F (190°C) for about 20-25 minutes, or until golden brown.
- For a pie that bakes with the filling (like apple pie), you can add the filling directly to the unbaked crust and bake according to your pie recipe’s instructions.
Tips:
- Cold Ingredients: Keep your butter and water as cold as possible, as this helps the dough stay flaky during baking.
- Handling the Dough: Try not to overwork the dough. The more you handle it, the tougher it will get.
- Freezing: You can freeze the dough for up to 3 months. Just wrap it tightly in plastic wrap and foil. When ready to use, let it thaw in the fridge overnight.
Enjoy!
This Grandmother’s Pie Crust is a great foundation for any pie, whether it’s a fruit pie, custard pie, or savory pie. The buttery, flaky texture will melt in your mouth and elevate your pie to the next level. Would you like any suggestions on pie fillings to go with this crust?
